 Reading Time: 4 minutes
Introduction
I figured I’d do one more article on scriptable emailing and show off my latest work, PHP function that leverages PHPMailer module to send email notifications from your PHP code. This function can be found in a wrapper PHP test page on my GitHub at https://github.com/siggib007/phptest/blob/master/phpmailer.php and you are welcome to use it if you want.
As with my article on Emailing from python3 I set out with some simple requirements
- Configurable To, From and Subject
- Configurable custom email headers
- Full support for HTML email body that is RFC compliant, including a text only alternative
- Be able to accept a large text block (formatted or not) that gets turned into an email attachment
- Be able to accept an absolute path to a file that should be added as an attachment.
- Does not trigger spam filters
The Script
Just like the python function, this PHP function accomplishes all these goals, although I only tested the file path thing on a Linux PHP server. As with the python function just grab this file from GitHub and copy the SendHTMLAttach function along with the StripHTML function. Anything outside of those functions is simply wire frame so the function can be tested, and something shows up on the web page.
How to use
Grab the file and place it on your PHP web server. I’m using docker to run my PHP server and if you clone the whole phptest repo you’ll have my docker-compose file and can just run it from there. If you rather not deal with docker and already have a PHP server ready to go just put phpmailer.php on that server. If you don’t want to deal with GitHub either just wget or curl this URL https://raw.githubusercontent.com/siggib007/phptest/master/phpmailer.php directly into your web directory.
You will also need to have PHPMailer installed on your box. The PHPMailer maintainers recommend you use composer to install it, but I don’t like to use composer as I like to keep dependencies to absolute minimum. I typically have zero dependencies, but occasionally I add one or two max. In these cases I manually install the required files. In this case I download https://github.com/PHPMailer/PHPMailer/archive/master.zip as instructed on https://github.com/PHPMailer/PHPMailer. You are also free to grab the PHPMailer directory from my phptest repo. Whichever route you choose just make sure you have the module on your server and the require statements in the function are adjusted so the script can find it.
Also make sure you are including the two use statement at the top of my test script.
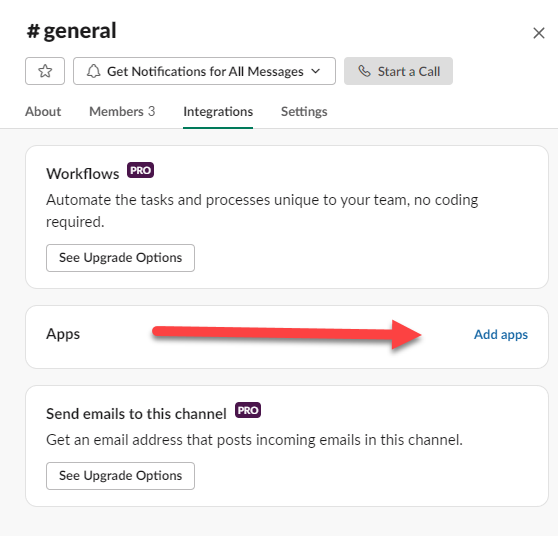
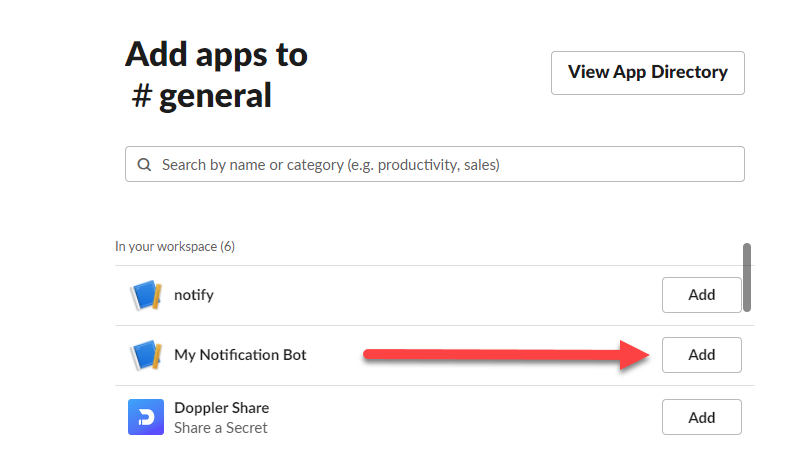
Setup the following environment variables. I recommend you use Doppler for that for maximum security. See my article on docker and doppler for details on how to do that.
- EMAILUSER: This the username the script should use when logging into the SNMP server
- EMAILPWD: The password to use when logging into the SNMP server
- EMAILSERVER: The FQDN of the SNMP server
- EMAILPORT: The TCP port number that the SNMP connection should use
- USESSL: Whether the SNMP server supports full SSL or TLS connections (True or False)
- USESTARTTLS: If the server doesn’t support full connection security, can it switch to a secure connection post connection, known as StartTLS. (True or False)
This should also work if you just setup those appropriate environment variables. If you have another way to fetch these information, just make the appropriate changes in the test script. After you grabbed PHPMailer module and setup those variables you should be able to Load the page and have it send an email. Unless you are using MailTrap (see section, Testing with MailTrap, in article Emailing from python3 for details on MailTrap) or similar service, you won’t actually see any email unless you also change variable on line 130 in the script to be a real email address you can check.
Make sure the SMTP server you are sending through has the proper SPF/DMARC records to be authenticated as authorized to send email for the domain you are using in line 135 in variable $FromEmail. Otherwise the email will be considered spam by pretty much every email service out there. For example if you are sending through your Gmail account, this email address needs to be configured as a send-as email in your configuration. If you are using your work email service you may need to check with your email administrators, but it likely needs to be your work email domain. If you are running your own domains and email server or you are the email administrator, you most likely didn’t read anything beyond SPF/DMARC 😀
To use this in your own PHP do the following
- copy SendHTMLAttach function along with the StripHTML function into your function library
- Setup the above variables either through Secret Manager such as Doppler, environment variables or however you are used to configure such things.
- Then call the SendHTMLAttach function with following arguments in this order, to skip an optional argument and include one later you either pass in an empty string or just put the comma.
- Message Body in HTML format, as a simple string. Note: A string doesn’t have to have HTML formatting to be a valid HTML string. However <br> is required at the end of a line you want to break. Normal line breaks are not rendered in HTML, only the text only view.
- Name and email that email should come from in the form of “Joe User |joe.user@example.com”
- Name and email address to send the email to, in the form of “Joe User |joe.user@example.com”
- Email Subject, as a simple string
- [Optional] Filename you want the attachment, created from the string in next parameter, to have. The script will not create the attachment if you leave this off. It is up to you to make this filename appropriate for the content. If you generate a HTML attachment but name the file MyFile.txt the recipient will by default, just see the actual HTML, not the rendering as one might expect.
- [Optional] Email Attachment in the form of a simple string. This would be the content of the attachment file, appropriately formatted for the intended file format. I assume this would be created by your script but could be read in from a file as well. Only text formats are supported, binary attachments have not been tested.
- [Optional] List of custom headers to add to the email. Either supply a single header as a simple string in the format “name: value” or as an array of simple strings in that format. For example “X-Testing: This is my test header”.
- See how I do this in my script by looking at how I create $arrname in the starting on line 127.
- [Optional] Absolute path to a file on the php server you want to include as an attachment.
Here is an example of how you might call the send function assuming all the above have been assigned to appropriate variables.
$resp = SendHTMLAttach ($strHTMLMsg, $FromEmail, $toEmail, $strSubject, $strFileName, $strAttach, $arrname, $FullPath2File);
If you want to pass only required parameters plus FullPath2File you would do this
$resp = SendHTMLAttach ($strHTMLMsg, $FromEmail, $toEmail, $strSubject,,,, $FullPath2File);
The function will return “Message has been sent” upon success or error message upon failure.
That should cover it, as always feel free to reach out if you have questions or comments.